
Home Design
Give Your Laundry Room the Refresh it Needs
March 23, 2026
Smart storage, durable surfaces and elevated style ideas for a more functional laundry space
Category | Home Design
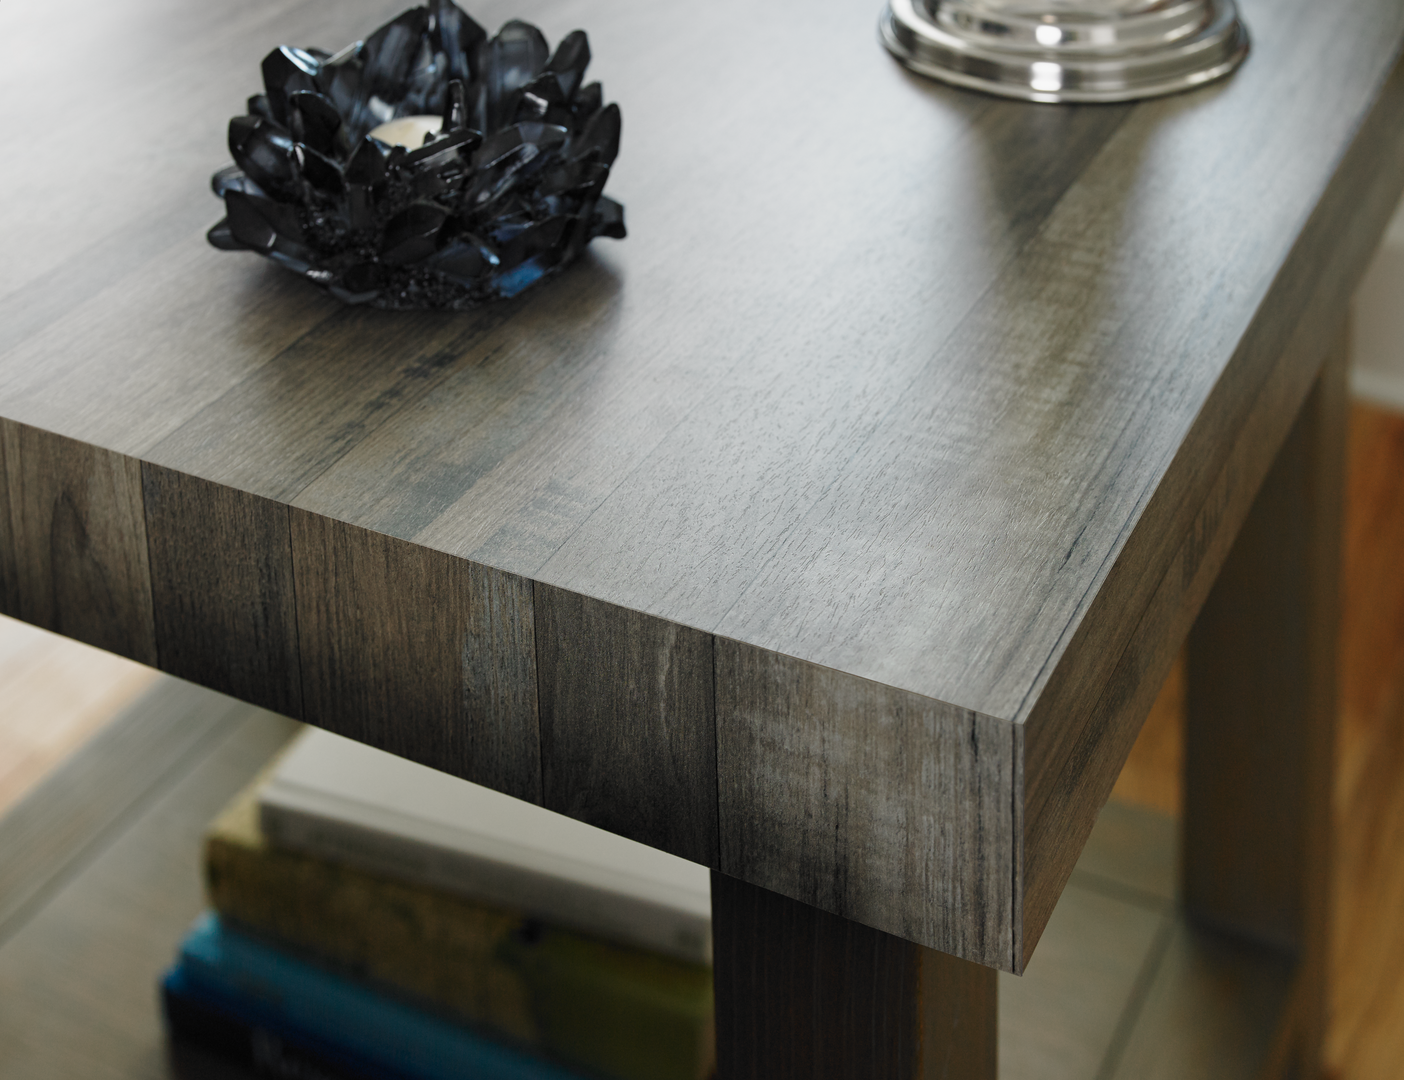
Create a stylish, durable side table for your home using Formica® Laminate. With endless colours and patterns – including those that mimic wood, stone or just show off bold patterns – it’s easy to match your style while enjoying a surface that’s scratch-resistant and easy to clean.
Materials List:Measure the desired height and tabletop size for your side table. Use a saw to cut your plywood or MDF to size. Sand edges smooth to remove splinters and ensure the laminate adheres evenly.
Step 2: Prepare the LaminateCut Formica® Brand Laminate slightly larger than your tabletop dimensions. This allows for trimming and ensures full coverage.
If you plan to self-edge, also cut narrow laminate strips slightly wider than the thickness of your tabletop. When self-edging, the edge strips should be applied first before the tabletop.
Apply contact cement or laminate adhesive to both the tabletop and the backside of the laminate, following the adhesive product instructions. Let it set until tacky.
If self-edging, apply adhesive to both the table edges and the back of the laminate edge strips as well.
Another alternative, if using a high-quality birch plywood as a substate, is to sand the edges smooth and varnish for a modern look – or leave unfinished for a raw look.
If you are using a self-edge, the edging must be adhered to the substrate before the tabletop.
Apply the self-edging by pressing the laminate edge strips firmly onto the tabletop edges and roll them tight to the substrate using a J-roller.
Once secure, trim the edge strips flush with the tabletop surface.
For the tabletop, carefully place the laminate on the tabletop, starting from one edge and smoothing it down gradually. Use a J-roller to remove air bubbles and ensure full adhesion.
Step 5: Trim Excess LaminateOnce the laminate is fully adhered and secure, trim edges with a router, laminate trimmer, or fine sandpaper.
Step 6: Attach the BaseSecure your chosen table legs or base to the tabletop. Check for stability and adjust as needed.
Step 7: Finish and EnjoyWipe the table surface clean and admire your handiwork. Your new Formica® Brand Laminate side table is ready for everyday use!
Home Design
March 23, 2026
Smart storage, durable surfaces and elevated style ideas for a more functional laundry space

Home Design
March 19, 2026
Discover Formica Group’s stone finish laminate designs inspired by marble, travertine, and shalestone—durable, stylish, and perfect for any interior project.

Home Design
March 4, 2026
KBIS 2026 Trends: Warm Woods, Nature-Inspired Colour and Statement Surfaces Shape Home Design