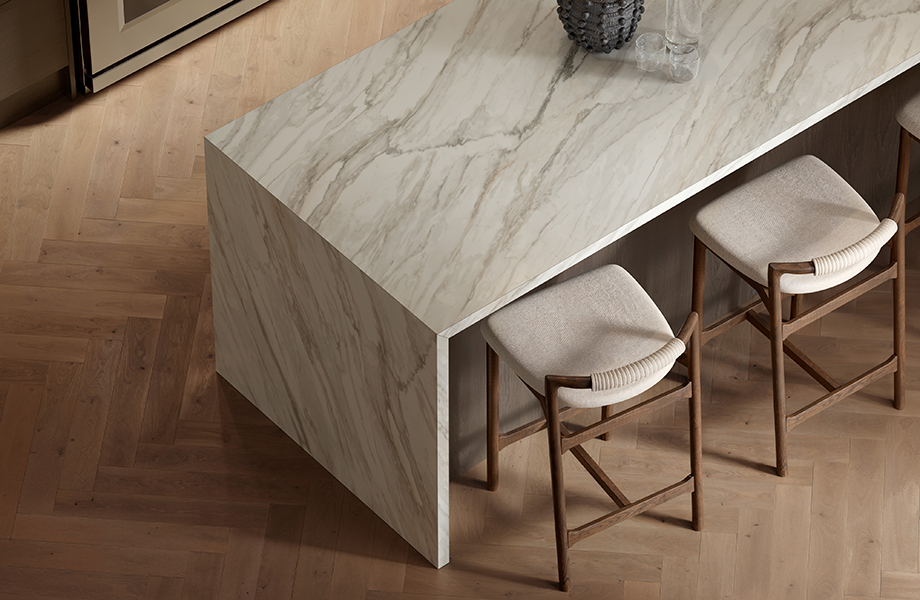
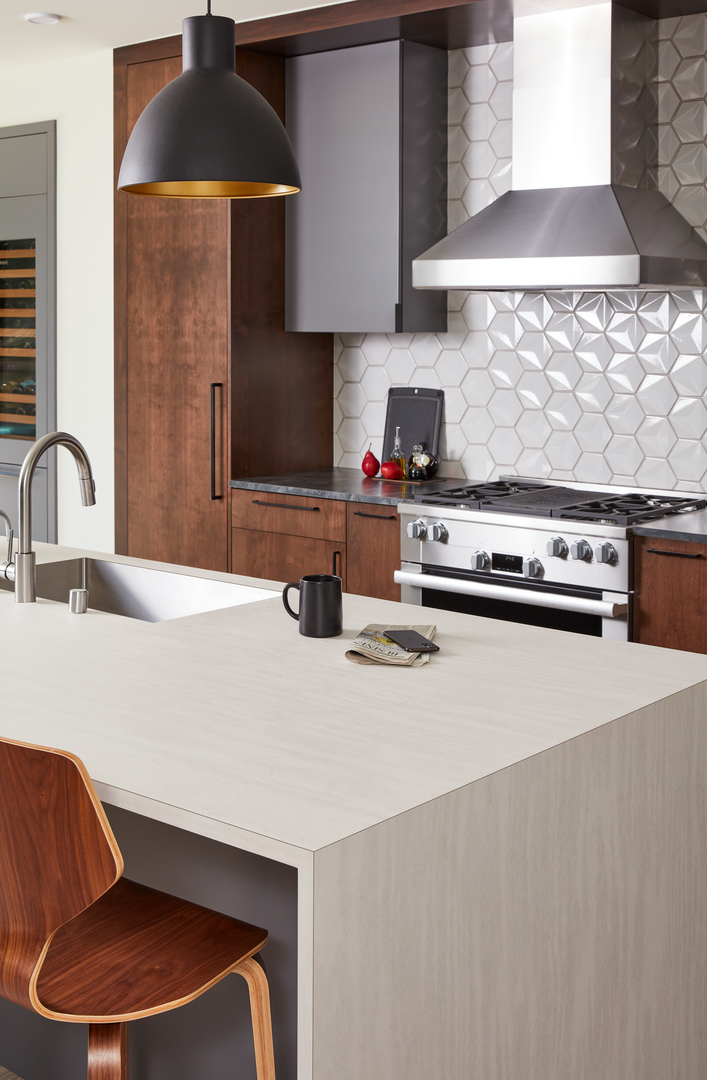
DIY Video Project: A Formica® Laminate TableIf you’re creating a new table from scratch or have an old tabletop that could use a new look, you’re in the right place! This video and the instructions below will guide you through the process of applying new Formica® Laminate sheets.
Selecting Formica® Brand High Pressure Laminate Today’s homeowners seek a wide selection of laminate décors across woodgrains, patterns and colors for maximum design flexibility. Formica® Laminate stands out for its durability, easy maintenance, affordability, and above all, simple installation.
To achieve a clean, professional look, it’s important to use the right tools and techniques when cutting and applying laminate. You’ll find everything you need below. However, if you want an even deeper dive, learn how to cut Formica® Laminate to explore best practices for avoiding chips, cracks and breaks.
Supply List- Drop cloth
- Sawhorses
- Measuring tape
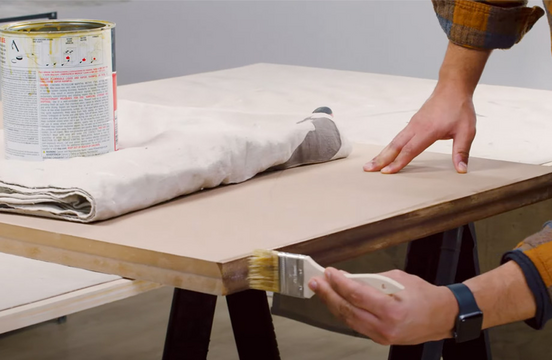
- Contact cement
- J-Roller
- Router with flush trim bit
- Safety glasses
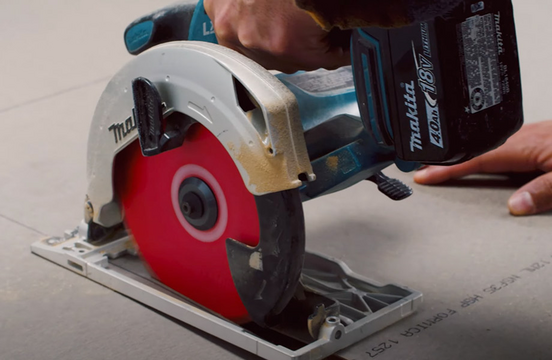
- Circular saw with fine carbide-tipped blade
- Table legs
- Household cleaner and cleaning cloth
- ¾-inch MDF board
- Markers
- Laminate for top and edges
- Paintbrush
- Detail sander
- Paint roller and tray
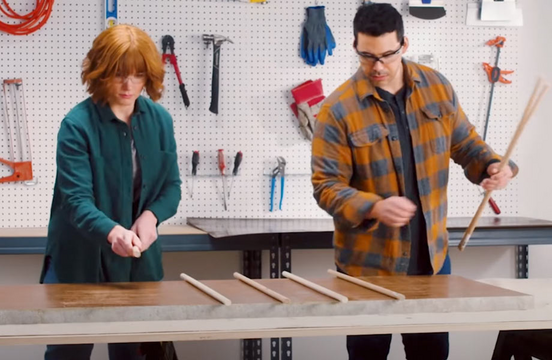
- Dowel rods with a diameter of ½ or ¾-inch and long enough to go beyond the width of the laminate which is oversized to the item being made
- Fine tooth mill file
- Table legs
- Staple gun and 7/8-inch staples
- Acetone and paper towels
Put Safety First Before you begin, make sure your room is well ventilated and read the adhesive's precautions and directions. Also, be sure to wear safety glasses when using any power tool and cover your floor with a drop cloth.